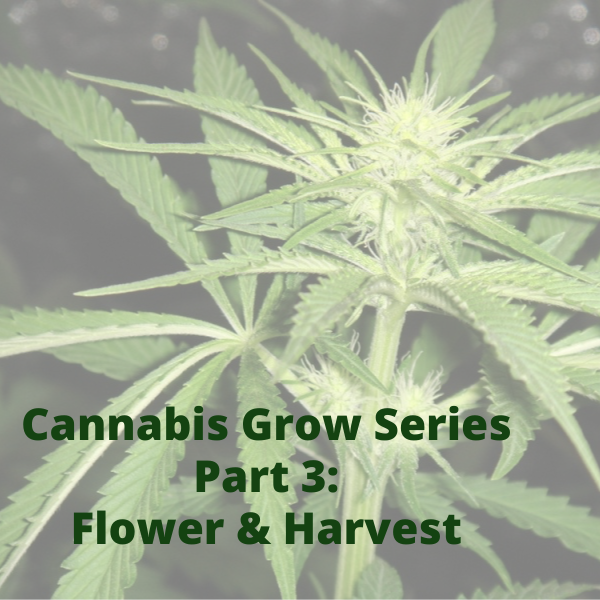
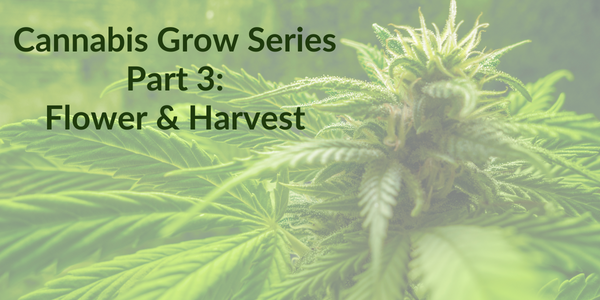
Cannabis Grow Series Part 3: Flower & Harvest
When the light cycle changes and the nights get longer your plants will begin to flower. This next phase can take 7-10 weeks depending on the strain you are growing. In this post, we will go over the different flowering stages and harvesting of your plants. This is a long blog so we have broken it into 3 parts – PRE FLOWER, LATE FLOWERING & HARVEST.
Pre-Flowering Week 1
The first thing you will notice is that the plant starts stretching meaning it is getting taller rapidly. Your plants are in overdrive right now trying to get as big as possible to be strong enough to support the bud sites. With your plant growing like crazy it will also need more nutrients. Now that doesn’t mean immediately switching your nutrient mix but slowly changing it over the next week or two by introducing your flowering nutrients in small amounts until fully switched. Another thing to consider is controlling the stretching by using some form of LST or low-stress training. This is when you bend and tie branches down in order to achieve an even canopy. An even canopy will help use the light more efficiently and ultimately get you a bigger yield in the end.
Pre-Flowering Week 2
Once into week 2, you will start to see small white hairs called pistols forming. You will see them where the fan leaves meet the stems. These pistols will become your buds. If you see small balls forming you have a male and you will need to immediately remove this plant. To properly feed your plants during flowering check the manufactures charts/ feed schedule, typically in week two of flower you will have to increase the flowering nutrients to reach maximum yield.
Pre-Flowering Week 3
Your plants should still be growing but will come to a stop soon and all energy will be put into forming buds. The spots where the pistols are should now be showing the start of buds. The smell won’t be really strong yet as the trichomes are still developing. In this phase of flowering ensure you are giving the plant what it needs nutrition-wise. Be sure to always check the manufactures growth charts. As the plants become pickier you should be checking for potential deficiencies like yellowing leaves or leaves falling off. Also, look for signs of overfeeding in the form of burnt leaf tips, curling, or a deep green colour.
Late-Flowering Week 4
Your plant should have stopped stretching and you will be able to see small buds forming. You will also see more trichomes and the smell should be getting stronger. You can stop using training techniques now too as your plant won’t be growing any taller. It’s always a good idea at this stage to support some of your trained branches as they will need support once the buds start gaining mass.
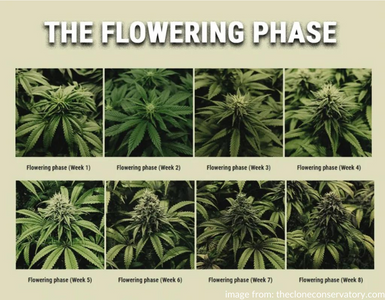 Late- Flowering Week 5
At this stage, you should be able to see some nice buds forming, your top colas should be filling out and the smell should be wonderfully strong. Make sure that your plant(s) have a lot of ventilation as stagnant air can be a big issue causing bud rot and unnecessary stress. You might also observe the previously white pistols are turning reddish or getting darker. This is a good time to check your trichomes. You will spot some becoming milky white, this is an indicator that your plants are not far from harvest.
Late-Flowering Week 6
If you have an 8-week plant this will be your last week of nutrients before the flush. You will see a lot of bud in this stage and some branches may need to be supported as the mass of the bud is too heavy for the plant.
Late-Flowering Week 7
During this week you will start the flush. What this means is you will only give the plant water for the last 2 weeks. Flushing takes away any excess salts/nutrients in the soil and plant, giving you a smoother higher quality bud.
Late-Flowering/Harvest Week 8
It’s harvest time or getting very close depending on your type of plant. The best way to tell if it’s harvest time is to look at your trichomes through a magnifying glass or use the zoom feature on your phone camera. Once you see almost all trichomes are milky white and brown it’s time to harvest. Start with a wet trim, meaning you will remove all the large fan leaves from the plant, and then hang dry for a week or two in a dark humidity-controlled room with very slight air movement. Hanging in a dark room will stop any light from degrading the THC and other cannabinoids making your smoke less potent. Keep the humidity at 50% RH to keep mold and rot away. While hang drying, you will want a slight airflow through your room to keep the air from becoming completely stagnant. This will also help keep mold and rot away.
Harvest Week 9
Now that your plants have been hanging for a week you should be ready for the dry trim. Bending the stems of the hanging plants is the best way to tell if your plants are ready for trim. If they snap or make cracking noises they are ready to be trimmed up and jarred. If they still bend or seem wet leave them until they crack or snap. Now for dry trim, you are going to want to take the stems off from the main stock and begin processing them one after another by removing leaves from around the buds, they should just snap off as they are dry and crispy. Once you have a stem completely defoliated remove the buds and place them in a mason jar (wide mouth so you can fit your hands in) until you have completely cleaned all stems of leaves and buds.
Curing Post-Harvest
Now that you have a bunch of jars full of the good stuff you are in the curing stage. This is the most important stage, one mistake here will ruin your whole harvest. You want to keep the inside of your jars at about 55% – 60% RH. If your jars go above 65% RH you will lose almost all flavor and terpenes, as well as risk molds, forming on your hard-earned bud and ruining it and if you drop below 50% RH you have let your bud dry out too fast and it will be harsh with not much flavor other than the campfire taste. The best way to control this is a process called burping. Burping is when you take the lid off your jars and allow the old air and humidity that accumulates as the bud dries out of the jar. This should be done a few times a day for the first week. After that, once a day should be good but keep your eye on them. If you jarred your bud too early you will need to burp a lot more as there is a lot more moisture in the bud. The goal is to dry out the bud as slow as possible after the hang dry starting a biological process of converting starches into sugars making your bud smell, smoke, and taste great.
Typically, one month in the jar, and your buds should be ready for your first smoke!